From the Milky Way to distant nebulae, let’s go on a photographic trip with our astrophotography guide for beginners.
We all feel a fascination as soon as we look up at the celestial vault illuminated with millions of small points of light. It is indeed one of the most impressive show that the human being can contemplate.
As soon as something fascinates us, one of our first desires is to capture an image of it. Our ancestors represented constellations on the walls of the caves and today, in the 21st century, we have the most modern technology.
However, capturing beautiful photos of the night sky is more difficult than it seems. In reality, the technique needed to practice astrophotography is one of the most demanding.
An astrophotographer who strives to take captivating images of the night sky has to be very patient. He has to be ready to travel miles and stay awake all night rather than bundling up in bed, even if he works the next day.
Successful photos of the night sky require a lot of preparation and a good knowledge of the equipment to use. Without forgetting the scientific side! Correct knowledge of astronomy and meteorology is undoubtedly a plus and even becomes a necessity for photographing the Moon and for obtaining sensational images of distant galaxies and nebulae.

Unfortunately, not every night can meet all of the conditions needed for astrophotography. That’s why one of the most important qualities for astrophotographers is patience. For example, if there is any cloud cover, the stars will be hidden and it will be difficult to get beautiful pictures, even with all the necessary equipment. This is one of the reasons why stars often appear brighter on cold winter nights: low temperatures are partly due to the absence of clouds, which allows heat to escape from the Earth and disperse into the atmosphere.
Another reason for the bright twinkling of the stars in winter comes from the fact that the Sun sets much more below the horizon than in summer. Although it is almost imperceptible to the naked eye, at the height of summer, there is always a little sunlight which interferes with the clarity of the night sky.
That said, there are other challenges astrophotographers have to face. Human activity also greatly influences the chances of getting a clear view of the stars in the sky. For example, the summer months, when temperatures are high for several days and there is little air flow, fog and air pollution due to dust particles and gas exhaust may interfere with stargazing if they are concentrated in the atmosphere. But it is not the only type of pollution that astrophotographers have to face.
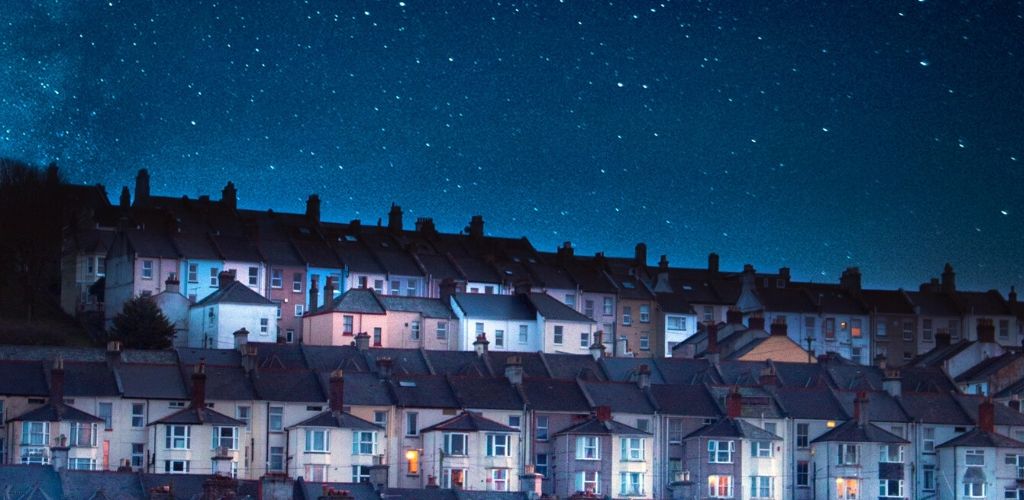
Light pollution is perhaps an even bigger problem. It is the combined effects of these two types of pollution that force those who seek the clearest views of the sky to go to the darkest and most isolated aeras they can find. It is also for these reasons that scientific observatories are built in isolated places.
The glow of several thousand lights lit all night in big cities not only masks the visual clarity of starlight but also spoils long exposures on cameras by revealing an orange glow which saturates the photograph and makes the light disappear. object.
A final factor is air activity, and in areas close to major airports, no matter how carefully you prepare, it is unlikely to avoid human-generated lights in the sky.
Astrophotography for low budgets
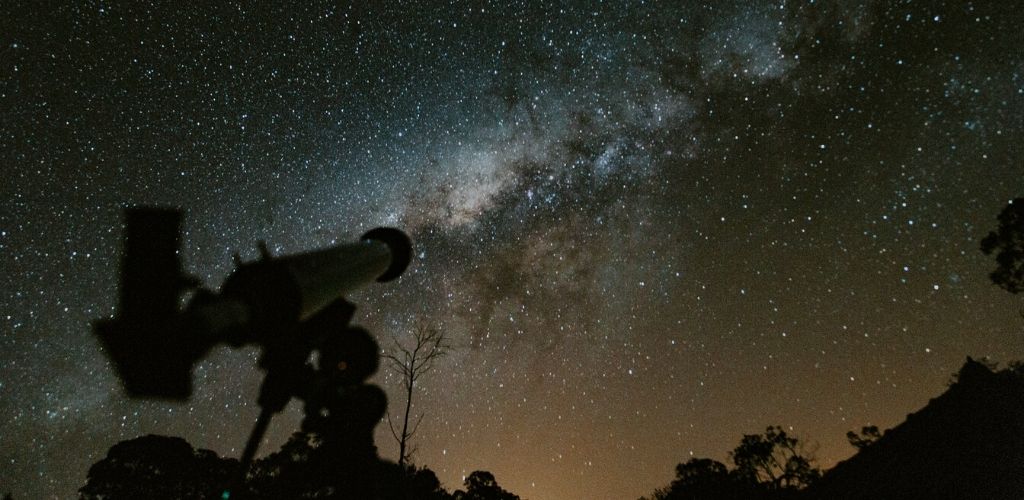
The results obtained in astrophotography depend on the equipment used, but there is no need to spend a lot of money. All you need is a decent quality telescope, a good SLR camera and a method of putting the two together.
You can do this using a simple, inexpensive T-ring (around $ 30), which replaces the camera lens and allows you to fix a T-adapter and take pictures directly through your telescope.
How to have a good astrophotography night
1) Watch the weather
Watch the weather if you plan a night expedition to photograph the night sky: if there is likely to be a lot of clouds, it is useless to go out.
2) Take a cell phone
It will not only be useful for weather updates but you can also contact someone if anything happens: some of the best sites for astrophotography are isolated places.
3) Use a local map
Study a map of the area and familiarize yourself with your destination rather than simply following your GPS.
4) Know the star maps
A simple star map, like the ones designed for children, can be a great way to get to know the sky at different times of the year.
Star trails photography tutorial
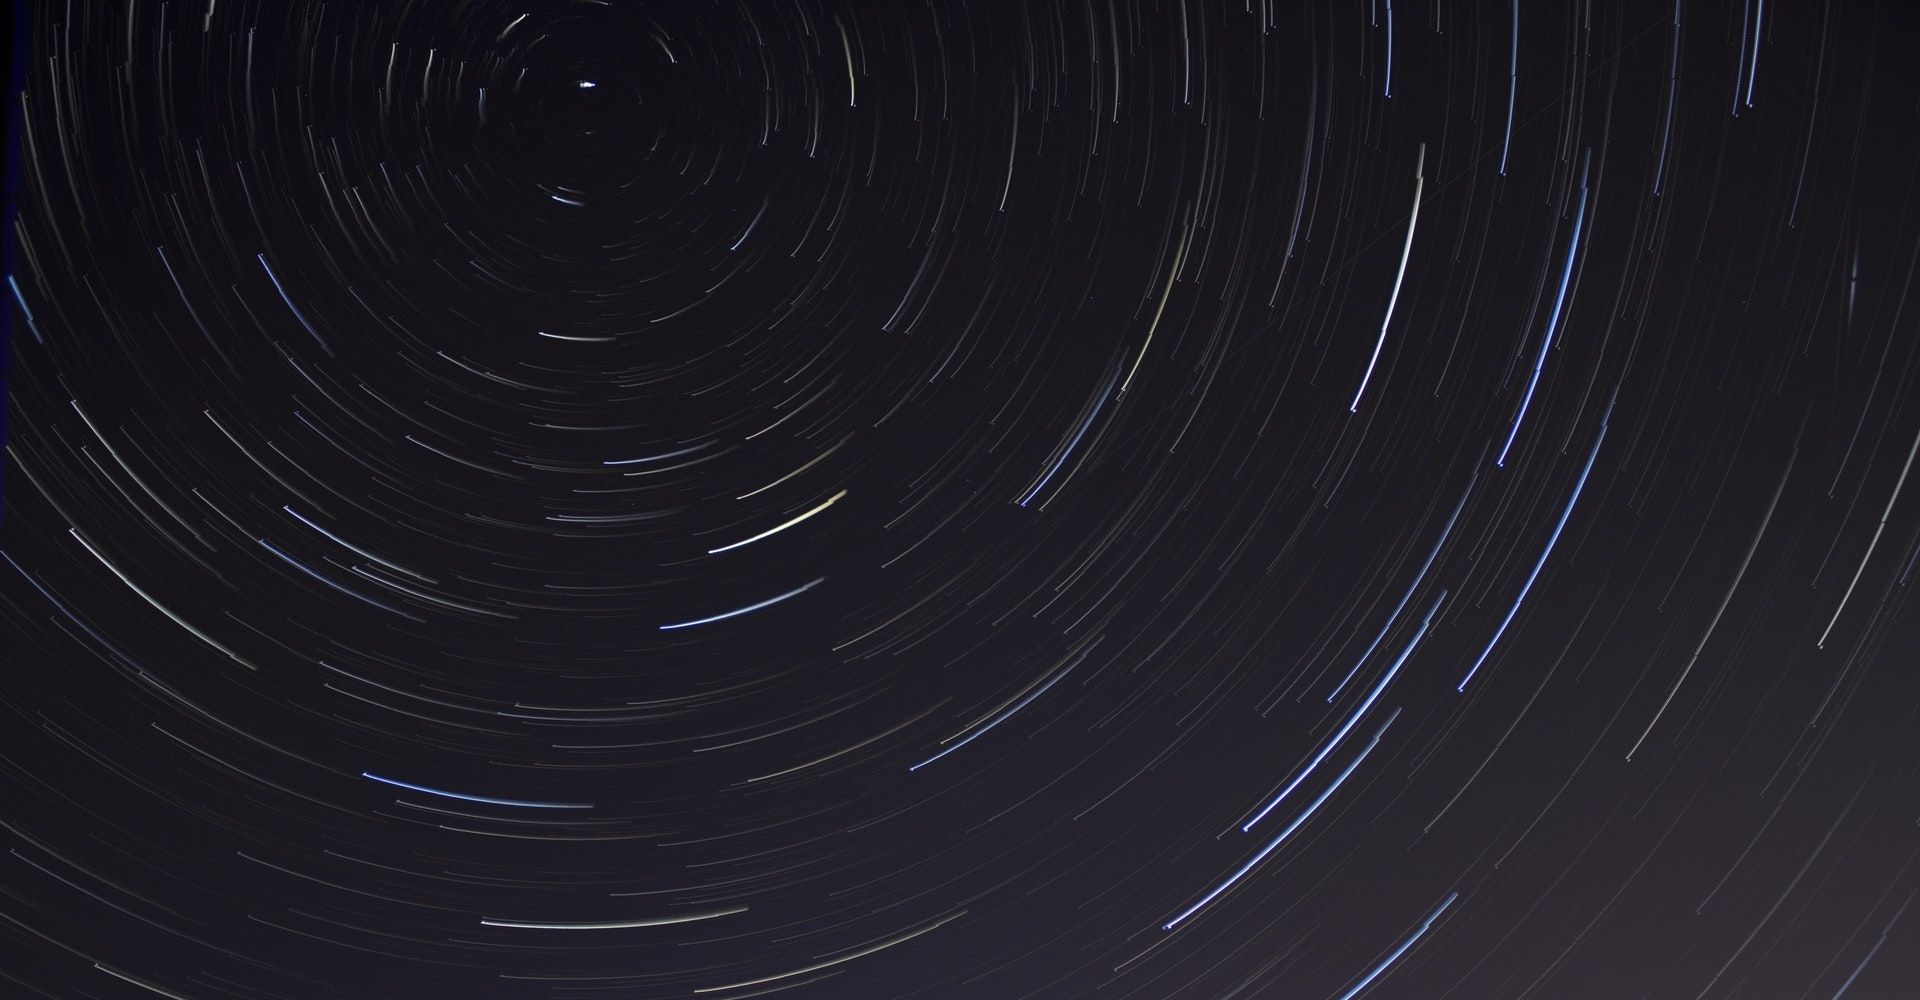
1) Prepare your camera
Before creating your star trails photograph, you need to position your camera correctly to take some good photos. Set up the camera of your choice on a solid tripod and point your lens at the night sky.
2) Select the largest aperture
Set your camera to an aperture of about f/2.8 or its maximum aperture value. This allows the lens to capture as much light as possible.
3) Adjust the ISO and shutter speed
Set the ISO to about 400 and the shutter speed to 30 seconds. In long exposure, an ISO that is too high will cause the appearance of unwanted objects.
4) Photograph in RAW format
When processing RAW format files in your editing software, make sure the same settings are applied.
5) Convert in Photoshop
In Photoshop, save your individual images as layers and convert them all except the background layer (your original photo) with the Brighten blend mode.
6) You’re almost done
These fantastic star trails are now almost complete and you can flatten layers by going to Layer> Flatten Image. And now you’re done!
- Image credits:
- Light pollution and telescope picture: Pexels
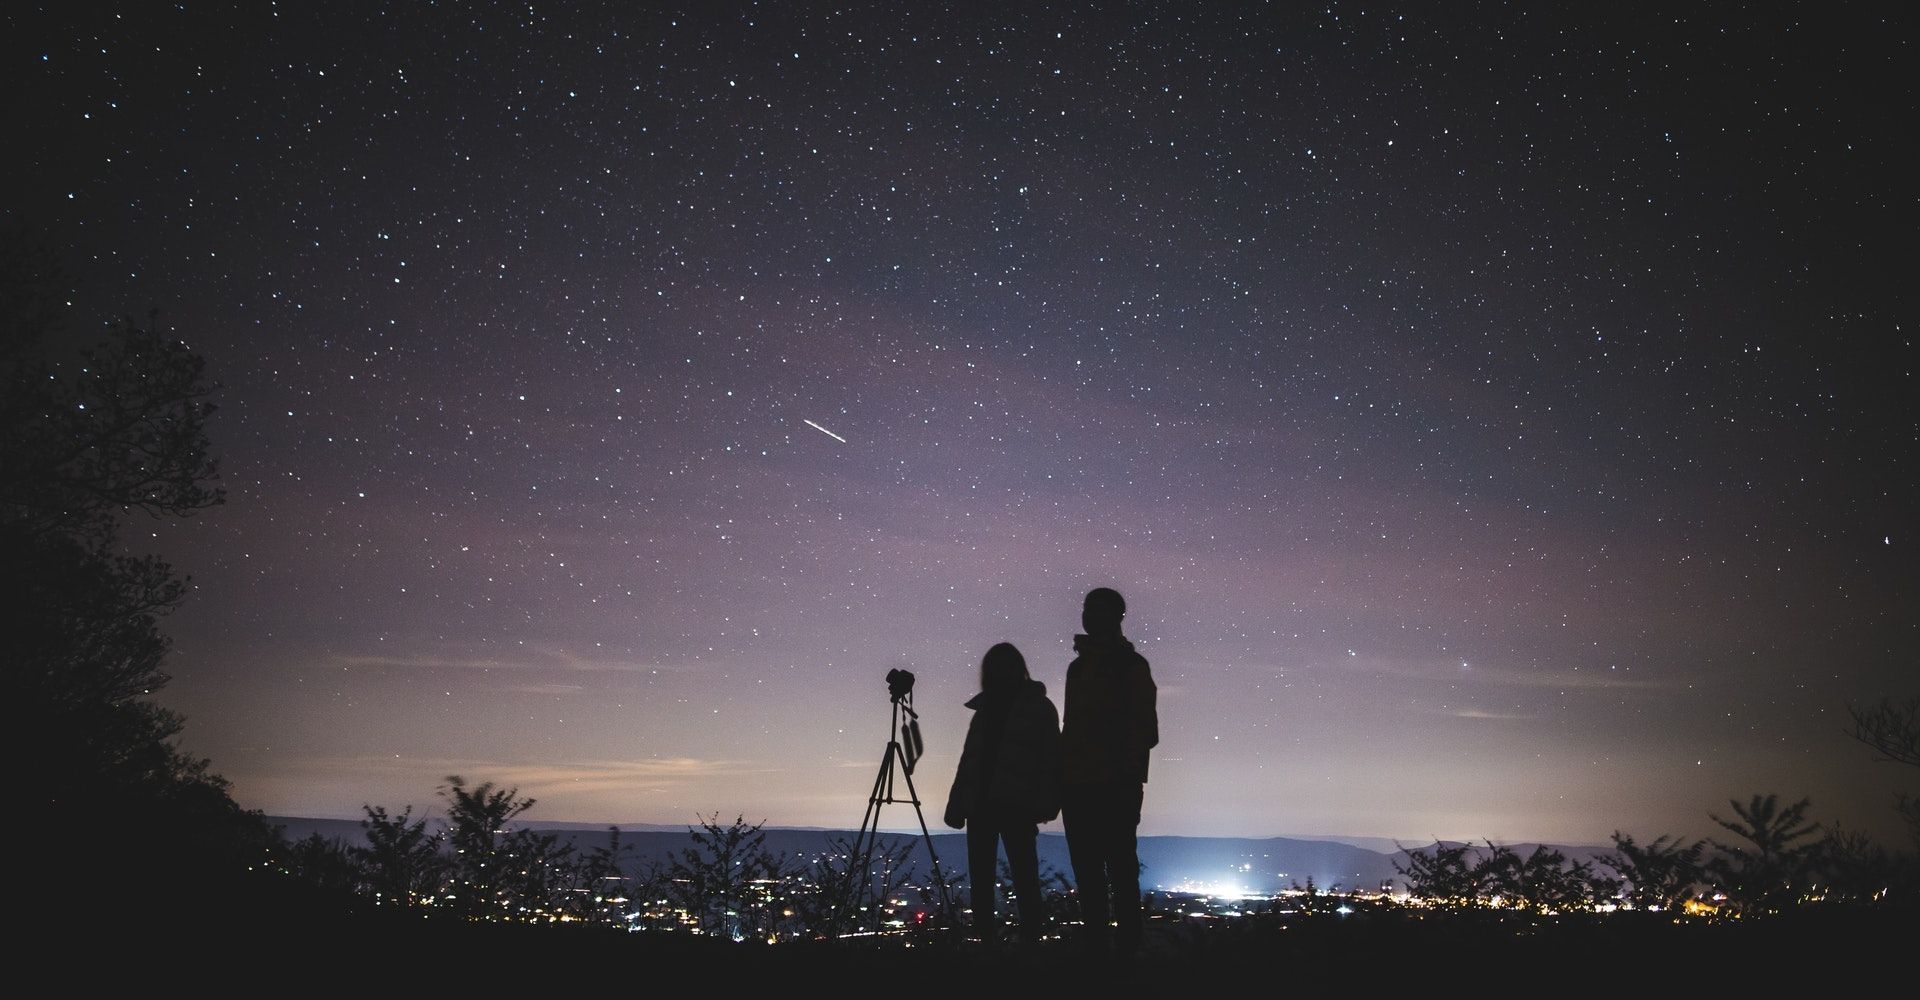
- Astrophotography night: Yuting Gao on Pexels
- Star trails: Jakub Novacek on Pexels