
The rotation of the Earth can be a puzzle for astronomers. The equatorial mount is the solution ! Since its creation in the early nineteenth century, the German equatorial mount has allowed astronomers to perform a perfectly stable following, even at high magnification.
Whether tracking a planet with one hand while looking through the eyepiece or capturing stars with clarity while photographing the universe in long poses, it is undeniable that the equatorial mount, or German equatorial mount, is a tool essential to observation of the night sky. But like other telescope mounts, it has drawbacks.
When considering their relatively large volume as well as the required set up procedure, the prospect of buying an equatorial mount can be daunting for the amateur astronomer. Moreover, astrophotographers will need to perform several time-consuming steps to be sure to get the best results for far-off celestial objects.
However, reproducing the rotation of the Earth with a mechanical mount is very attractive, even if this is the first time you purchase a telescope. This may be due in large part to the beauty of a telescope on its German equatorial mount on its tripod. With it current designs, these mounts should not scare beginners.
After all, installation is the only thing that requires training. Once you’ve mastered it, the equatorial mounts show that they are very intuitive to use.
Set up an equatorial mount step-by-step
- Assemble the mount
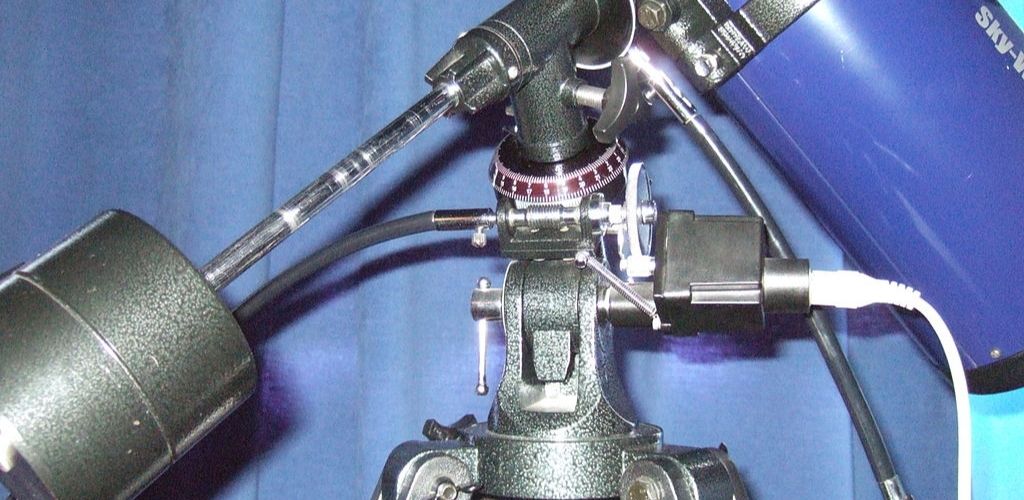
Start by attaching the head of the mount and the counterweight bar above the tripod. Check that the center screw at the top of the tripod is tight. On some equatorial mounts, you have to loosen it a bit to turn the head.
- Adjust the weight
If your equatorial mount does not have a polar sight, you must first install the counterweight then the telescope. Tighten the declination axis (Dec) and loosen the right ascension axis (AD). Adjust the weight position until both are balanced.
- Find the pole
Now, look for the celestial pole. In the Northern Hemisphere, the North Celestial Pole is not far from the Pole Star. In the southern hemisphere, the South Celestial Pole is in the Octans constellation. Familiarize yourself with a map of the sky.
- Set the axis
Use the locking screw in your mount’s latitude to “wedge” the polar axis to your latitude. Aim along the mount, set this axis to point north or south depending on the hemisphere you are in.
- Center your telescope
Center your telescope on the pole with the Right Ascension and the Declination axes locked. If you have a polar finderscope, turn its aim reticule to match the sky’s orientation, and place the Pole star in the right place using the latitude and the azimuth axis of your equatorial mount.
- Exchanging the axes
Once the Pole star is in the right place, your equatorial mount is aligned. Now all you have to do is block the latitude and the azimuth axis and to unlock your Right Ascension and Declination. With the Right Ascension handle, you can slowly travel the sky with one hand !